
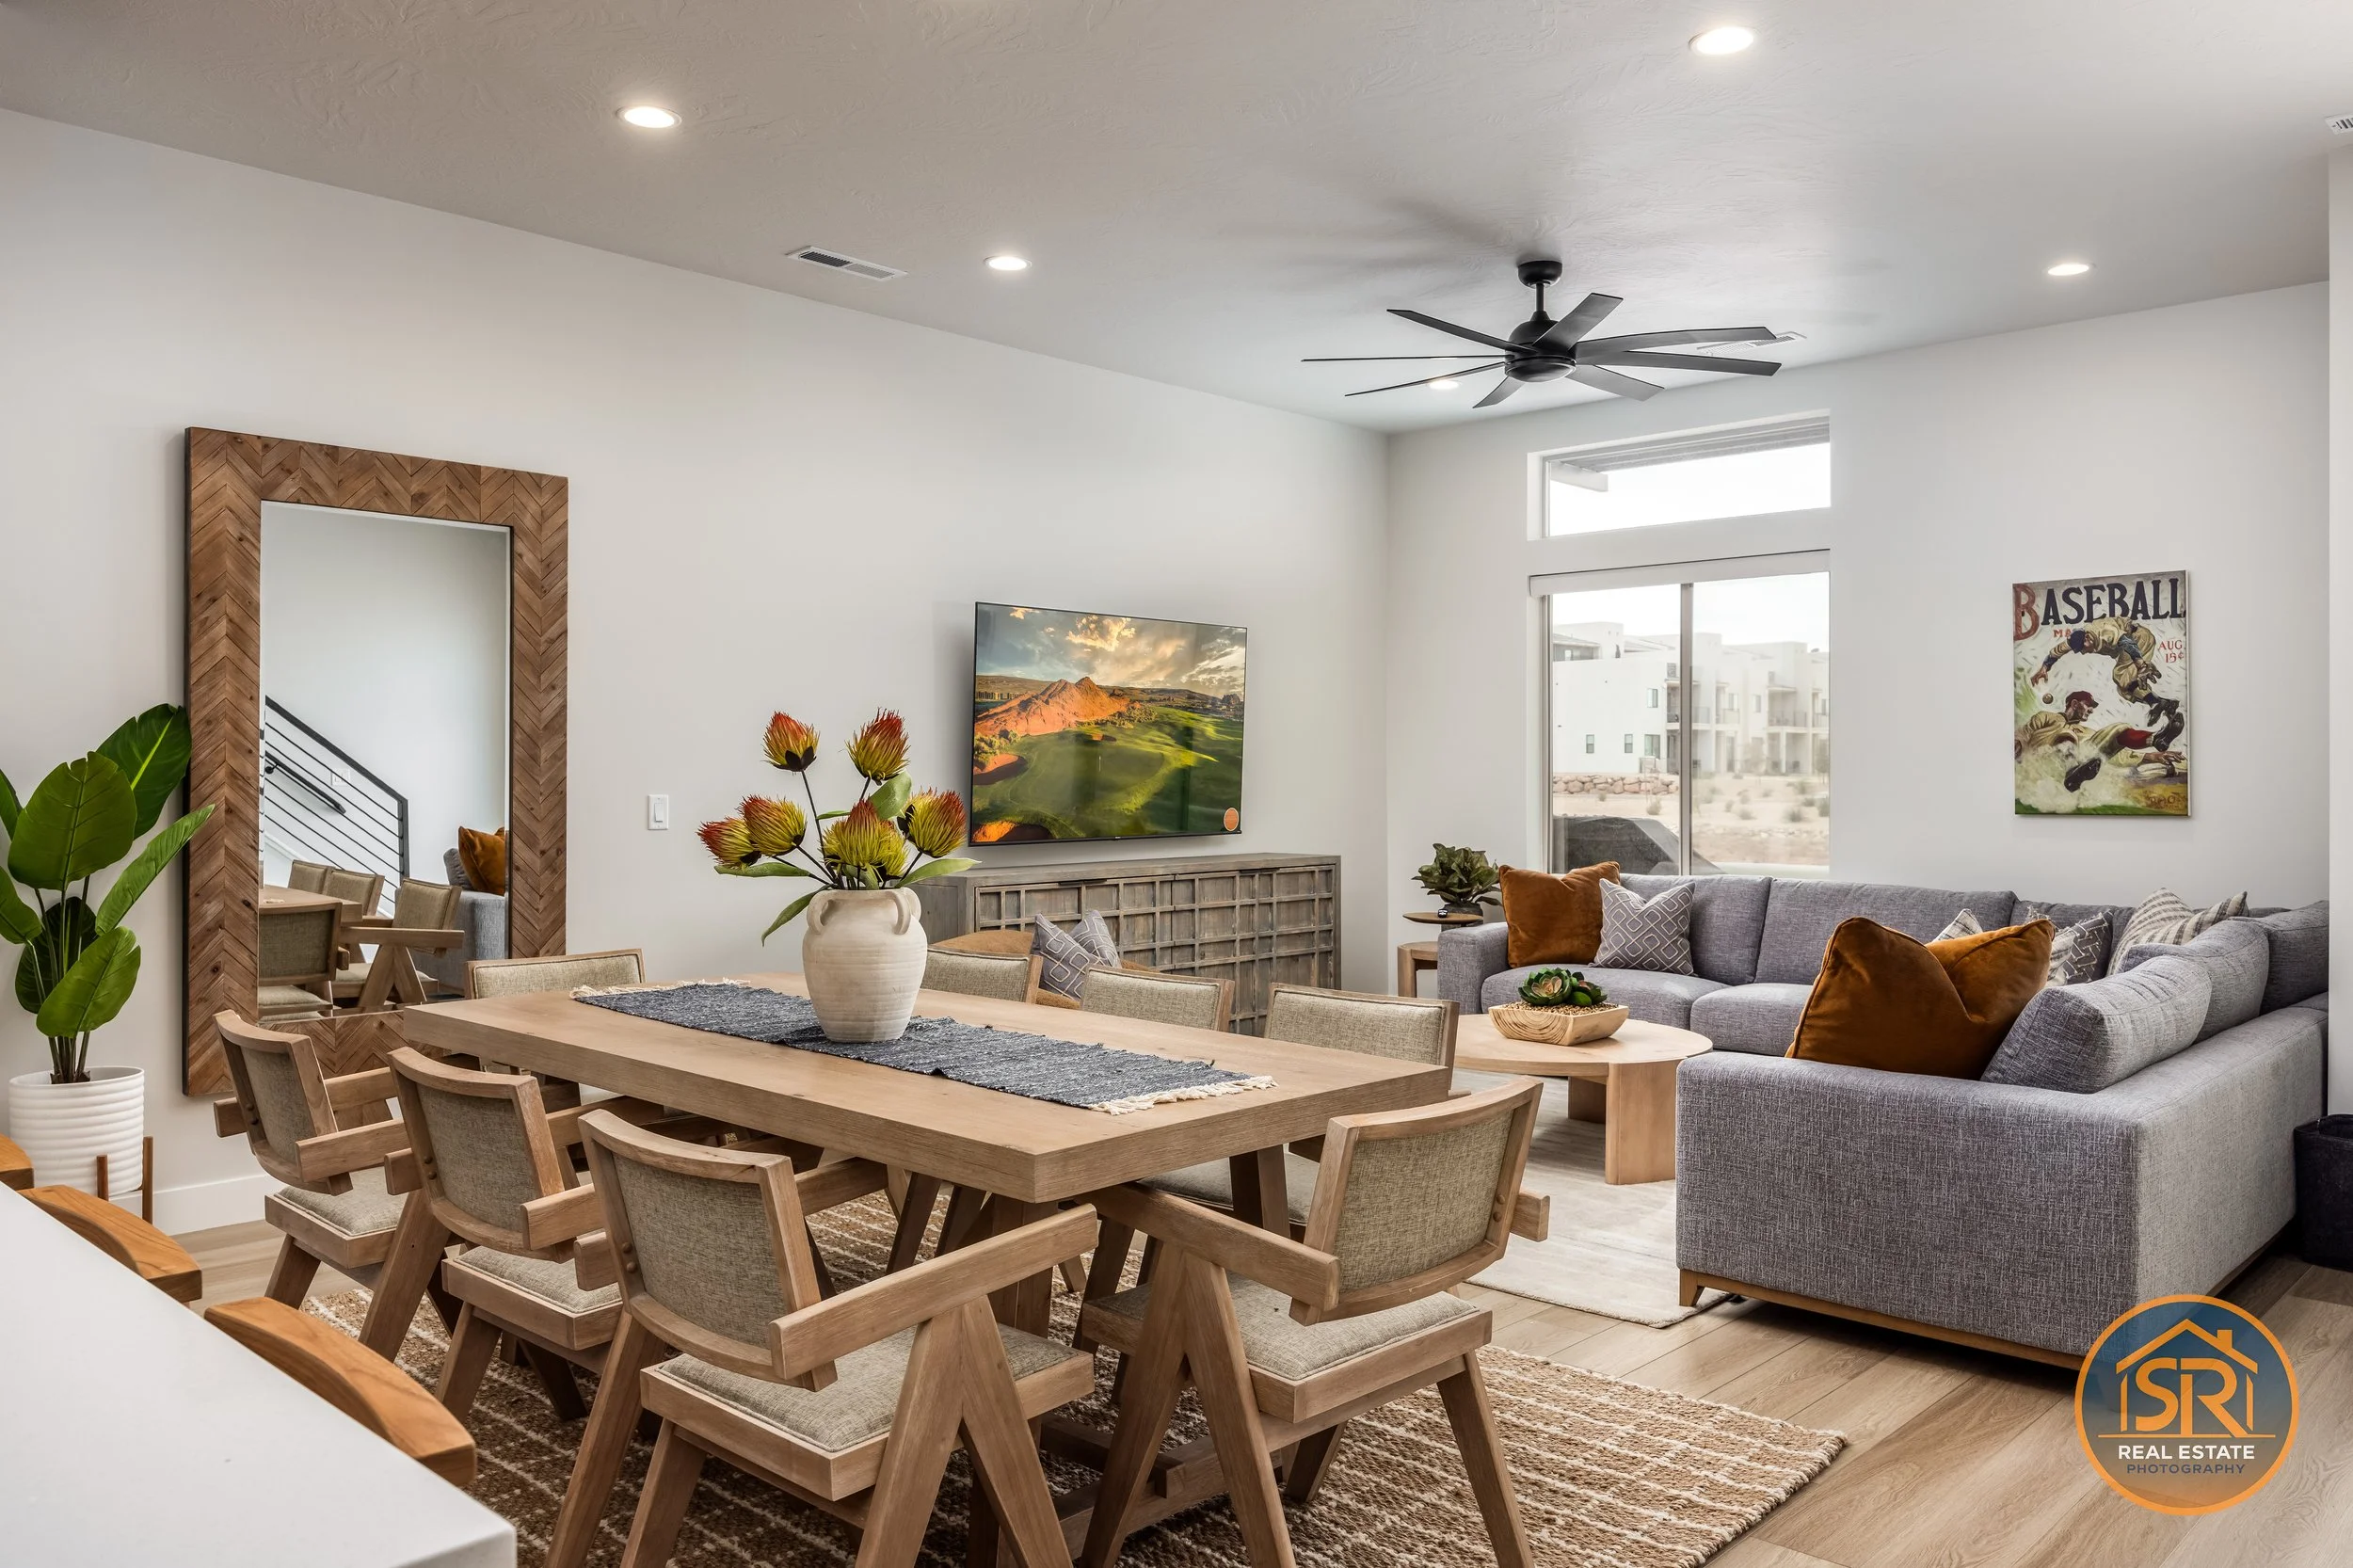
You have six good images of one open-plan space. The individual photographs work. The gallery still feels confusing. Before requesting more coverage, try changing the order.
Here is a fictional set to practice with. These labels describe image roles, not a particular home.
- A — Orientation: living area, dining table, and edge of the kitchen island.
- B — Living: seating and windows; the dining table remains at the edge.
- C — Dining: table in the foreground, kitchen island behind it.
- D — Kitchen: island and appliance wall.
- E — Reverse wide: looks back from the kitchen across dining toward living.
- F — Detail: a closer view of the island's finish.
The sequence that makes you keep turning around
D → B → F → E → C → A
This starts inside the kitchen before explaining where it sits, jumps to living, interrupts the route with a detail, and saves the orientation for last. A viewer has to assemble the plan from memory.
A more legible first pass
A → B → C → D → F
A establishes the shared space. The dining table connects A, B, and C; the island connects C and D. F follows the kitchen view that gives the detail a location. These repeated landmarks are useful because they orient the viewer, even though the subject changes.
What happened to E? Hold it aside. If A already makes the full relationship clear, E may be a duplicate. If E reveals an otherwise unseen hallway or patio connection, restore it beside the image that introduces that route. There is no obligation to use all six simply because all six are attractive.
The two-question review
Show the sequence to someone who has not visited the property. Ask them to point out:
- The path from living to kitchen.
- Where the detail in F belongs.
If either answer is unclear, inspect the transition between images before commissioning another overview. A missing shared landmark may be the problem. If the physical connection was never captured, record the exact gap: “Need a view showing the island relative to the dining table.”
Use on your own gallery: label each image with its main zone and one visible reference point. Order by connected zones, then place the details. Keep a second wide angle only when you can finish the sentence, “This view also shows...”
Try one transition at a time
Review the gallery at thumbnail size first, then open each neighboring pair. In B and C, can you identify the same dining table without guessing? In C and D, does the island remain recognizable? A shared object helps only if enough of it is visible to make the connection. A cropped chair leg or a sliver of countertop may not provide a reliable reference.
If a transition feels abrupt, move one image rather than rearranging the entire gallery. Compare the two versions and ask which better explains the route. Keep the orientation image near the start, and avoid using a close-up as the bridge between two rooms. A detail explains a finish; it usually cannot explain circulation.
- Check that the opening view establishes the major zones.
- Look for one recognizable landmark between neighboring wide views.
- Place details after the room view that locates them.
- Keep an additional wide angle when it reveals a useful connection, not merely a different camera position.
For another way to edit a focused set, read which kitchen photos earn a place in the gallery. If a needed connection is genuinely missing, contact Sam with the specific view you want to discuss.
From Sam Reed’s property photography portfolio; editorial illustration, not a Same-Day HDR sample or a case study of this article.